In-house air-beam work
Develop tube geometry, junctions, valves, sleeves and service access with the team producing the inflatable frame.
ASEN CAMPING / MANUFACTURING
Develop the inflatable frame and tent cover around one approved specification, then review a physical sample before bulk production.
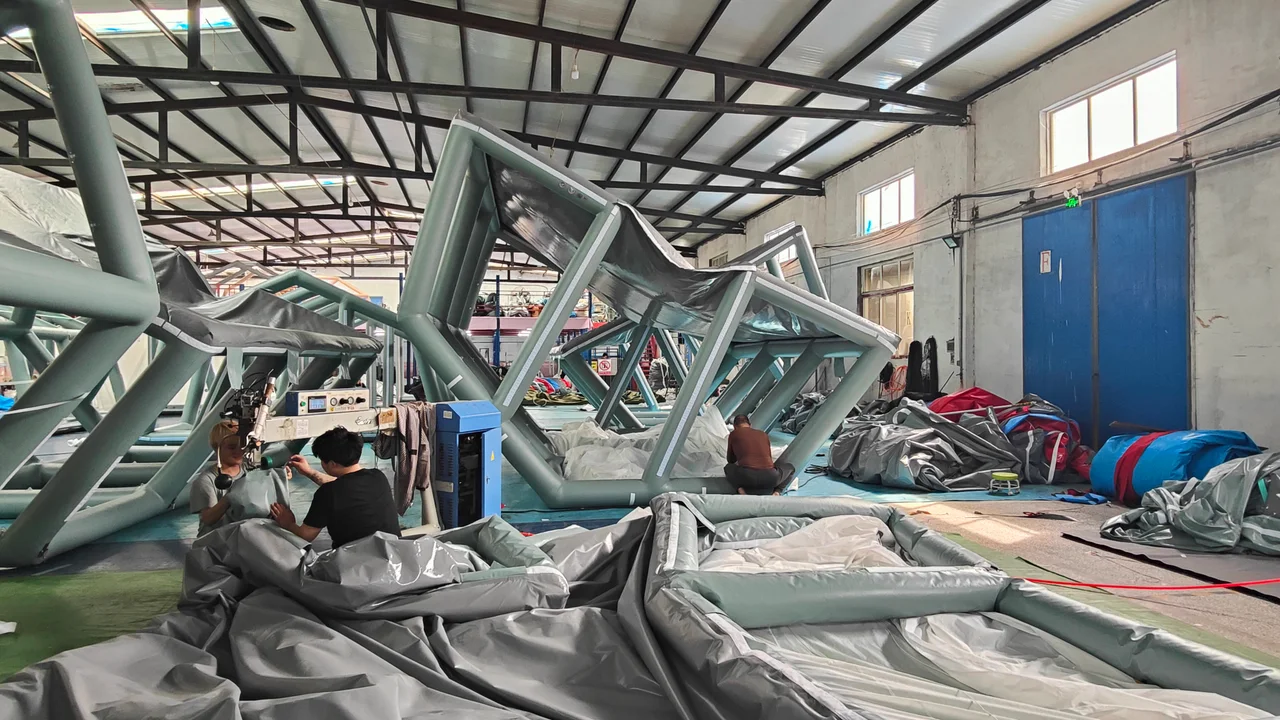
Air-beam frames shown during production inside the ASEN workshop.
MANUFACTURING SCOPE
The useful question is not only what equipment a factory owns, but how each production decision stays connected to the approved model and sample.
Develop tube geometry, junctions, valves, sleeves and service access with the team producing the inflatable frame.
Translate approved dimensions, openings and attachment positions into the cover assemblies.
Check exterior form, openings, fit, access, components and requested changes before bulk production.
Confirm the component set, labels, instructions, bag, carton and order-specific inspection points.
FOR SOURCING TEAMS
Use the visible workshop work to narrow your questions, then ask for evidence that matches the exact tent you intend to buy.
IN-HOUSE AIR-BEAM WORK
Material, joining, junctions and valve access are resolved together for the selected tent geometry.
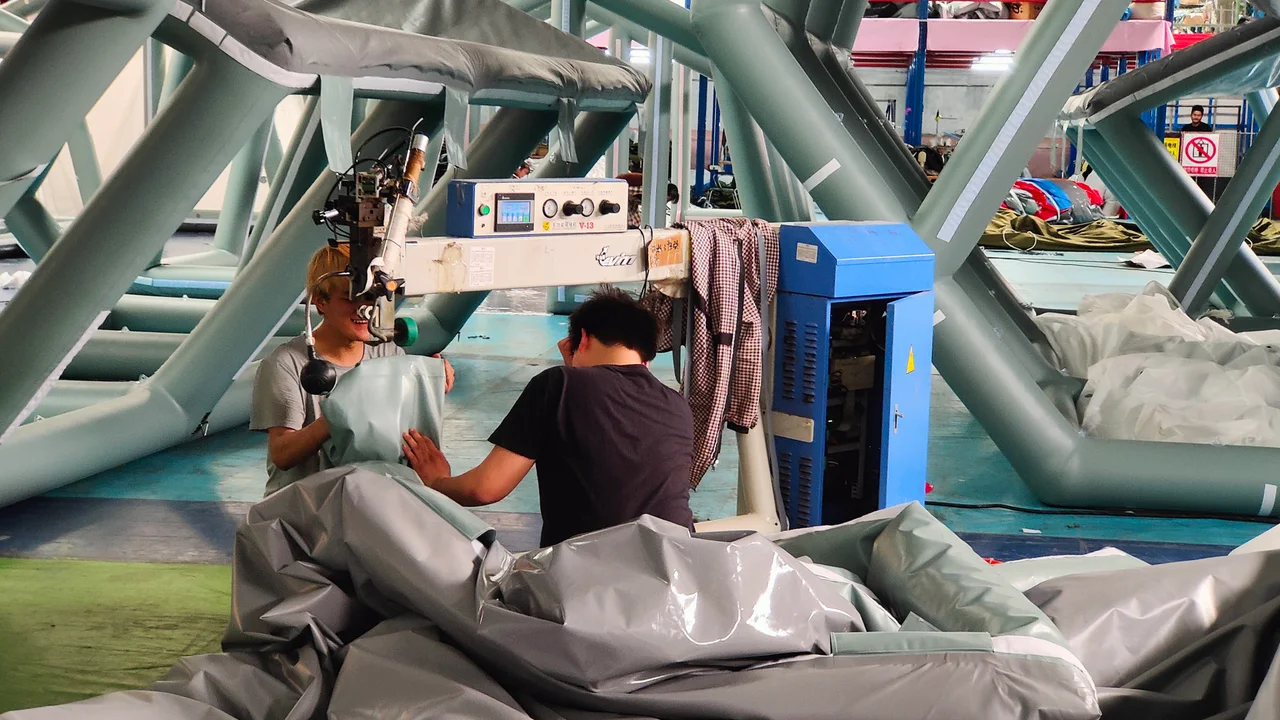
Operators join prepared air-beam material while frame geometry and component positions remain tied to the approved definition.
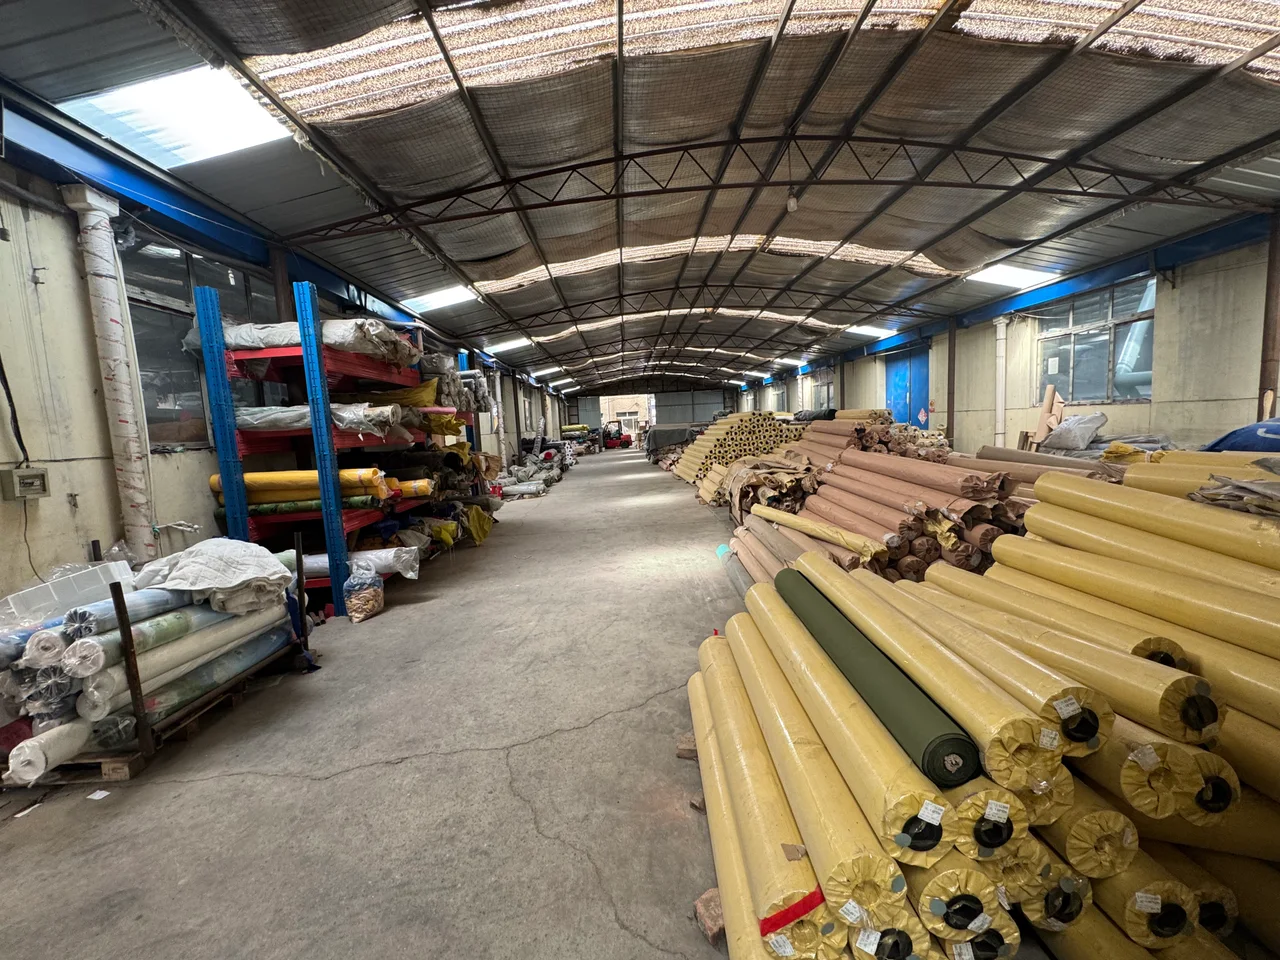
Material direction is matched to the model, structure and buyer requirements before production starts.
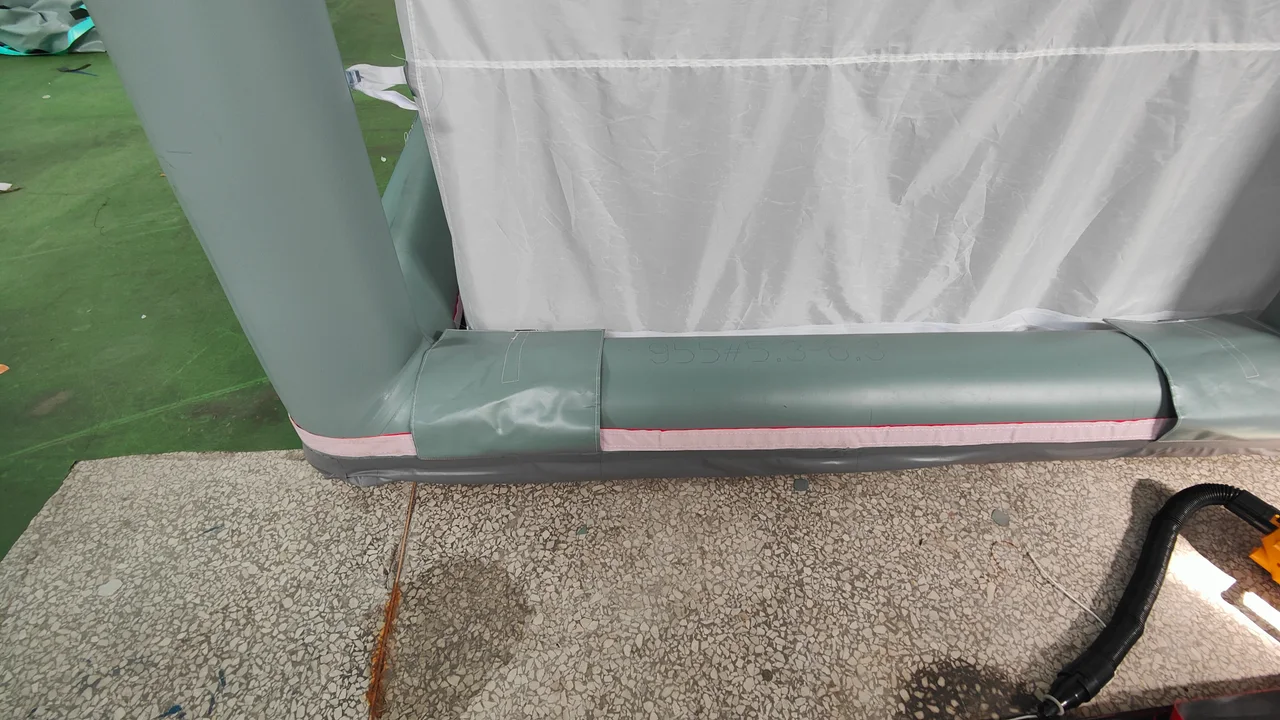
Junction shape, protective sleeve and cover connection are reviewed as part of the assembled frame.
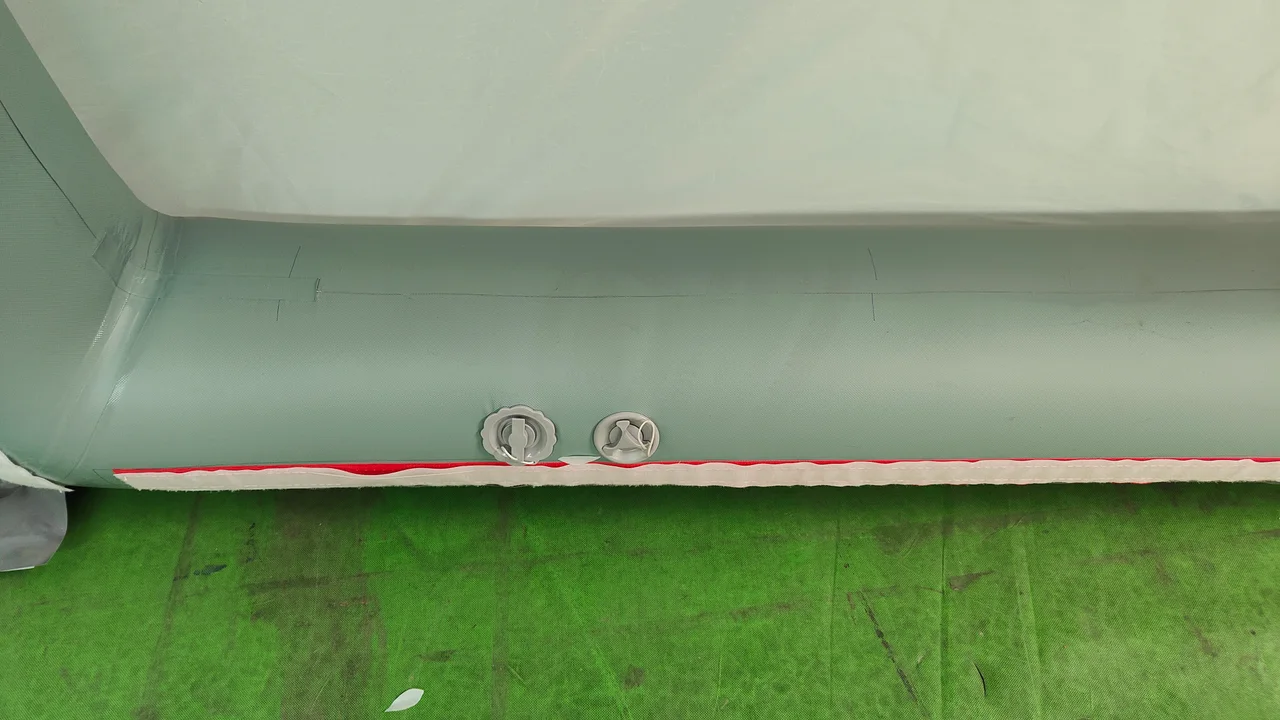
Valve type, position and service access are included in the final component definition.
COVER PRODUCTION
Real workshop images show the production context. Exact materials, seam construction and acceptance criteria remain model-specific.
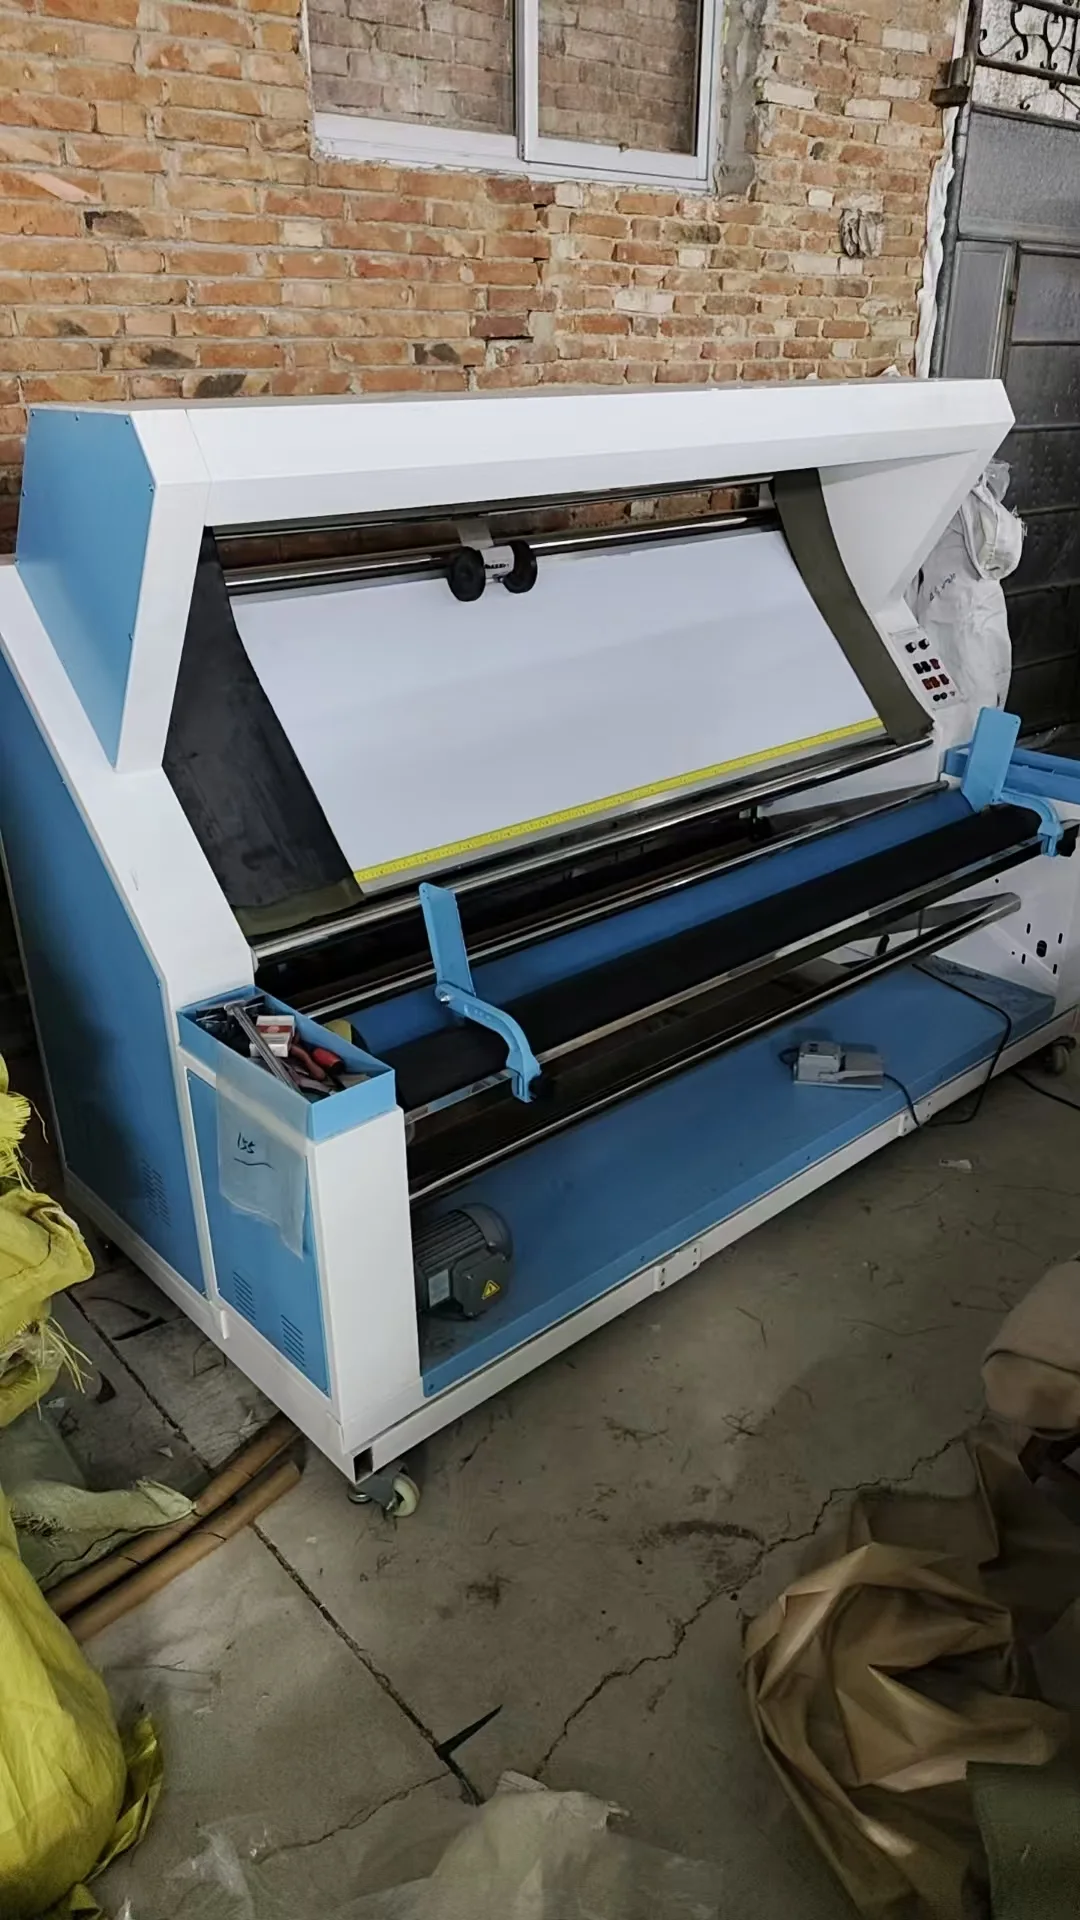
Confirmed dimensions, openings and connection points are translated into cover components.
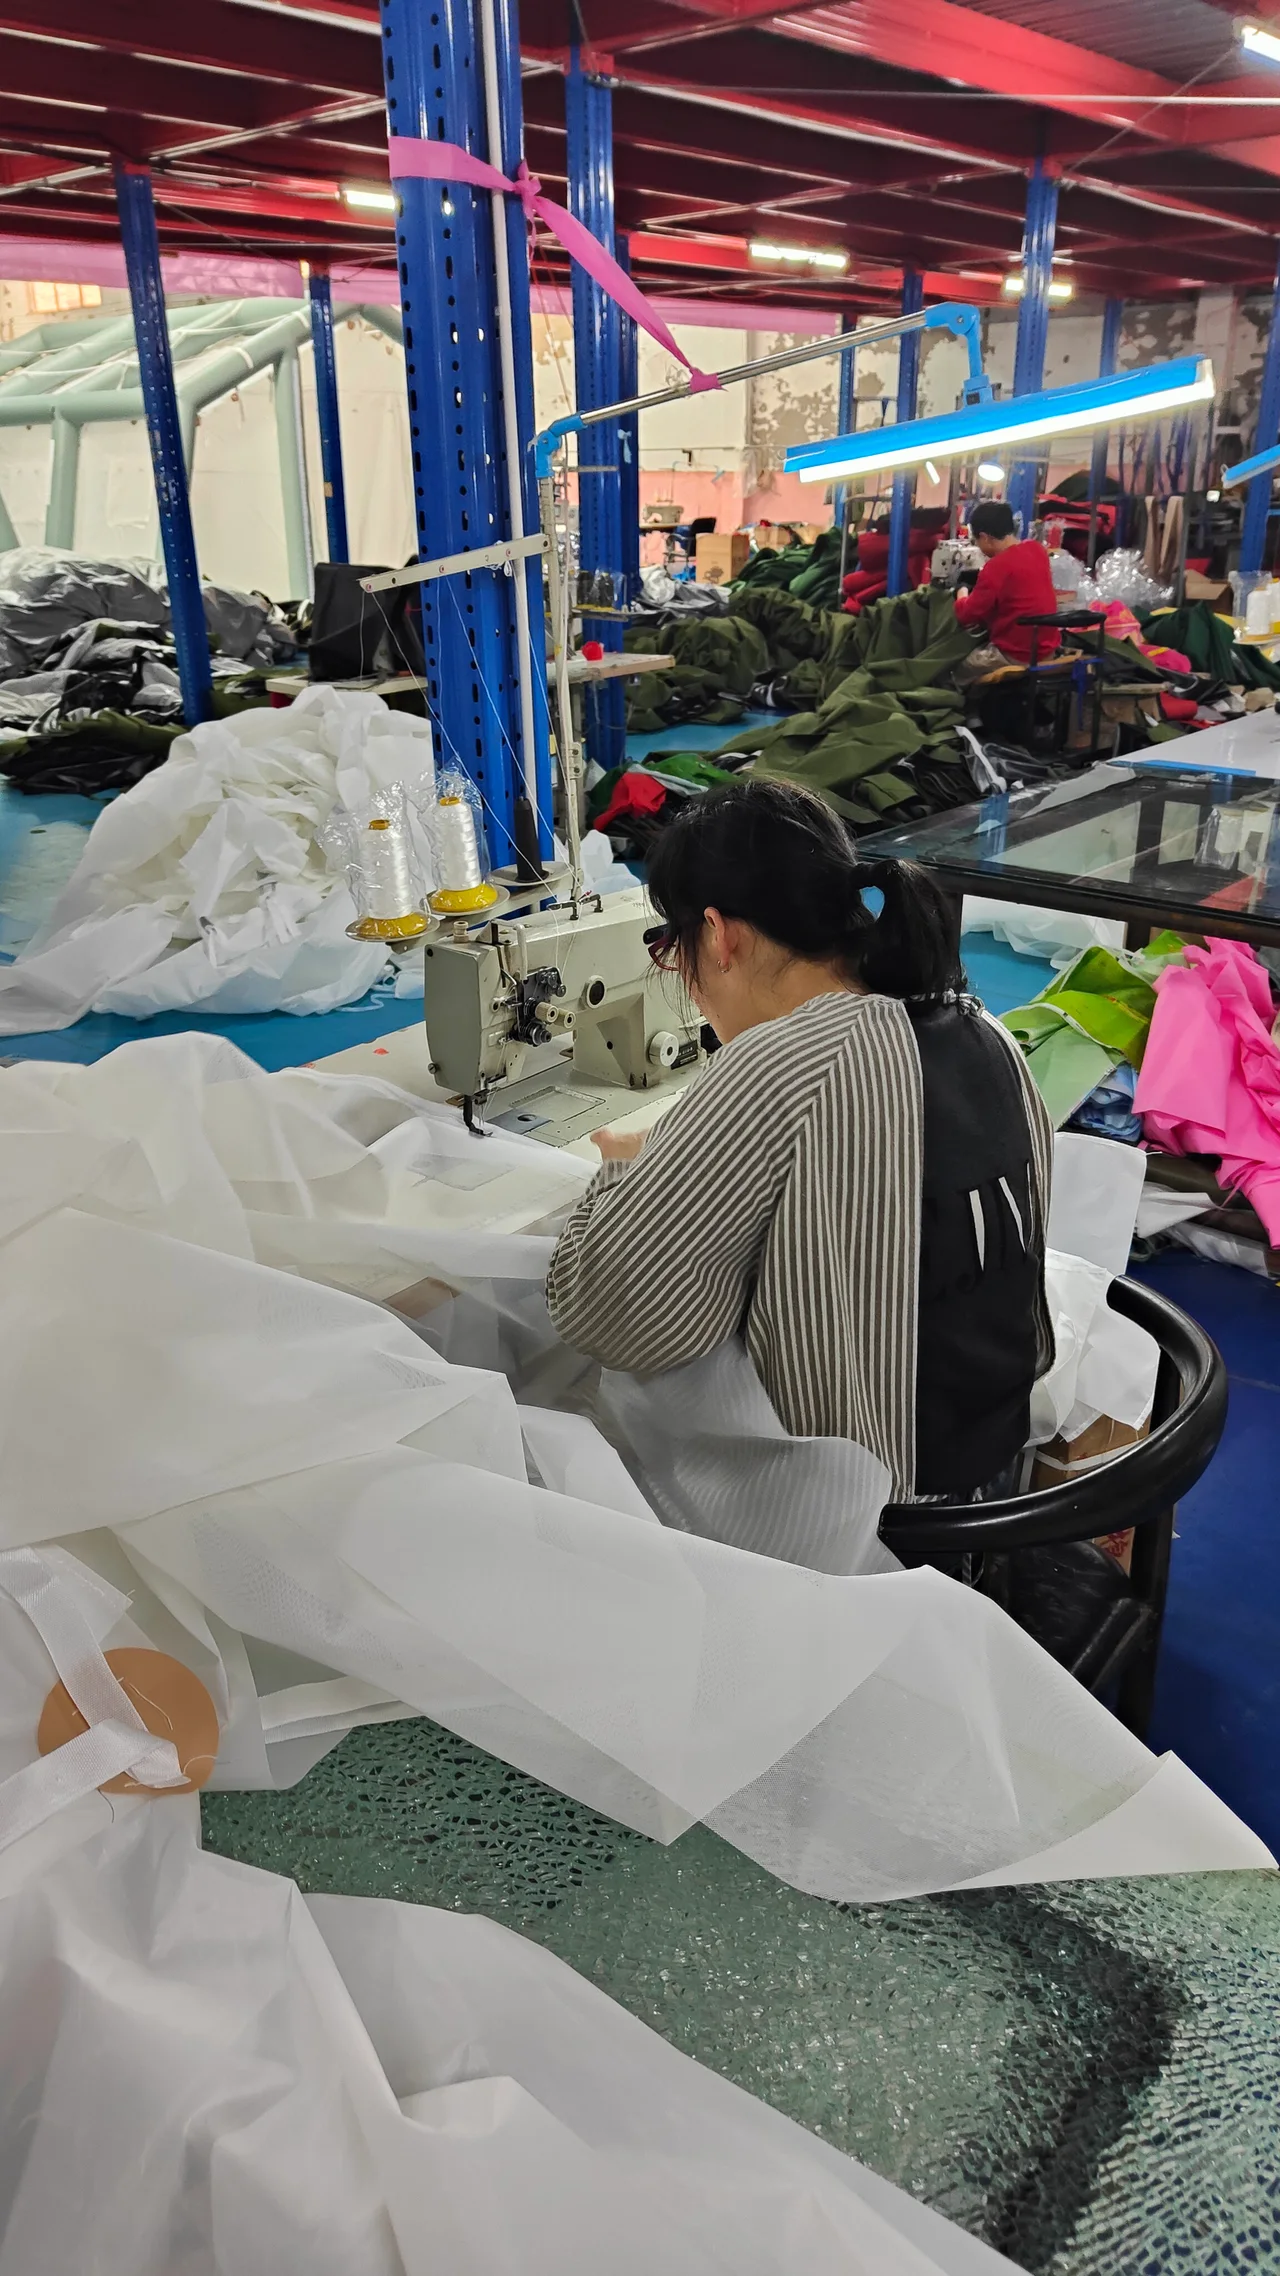
Seam placement, attachments and visible construction are checked against the agreed sample.
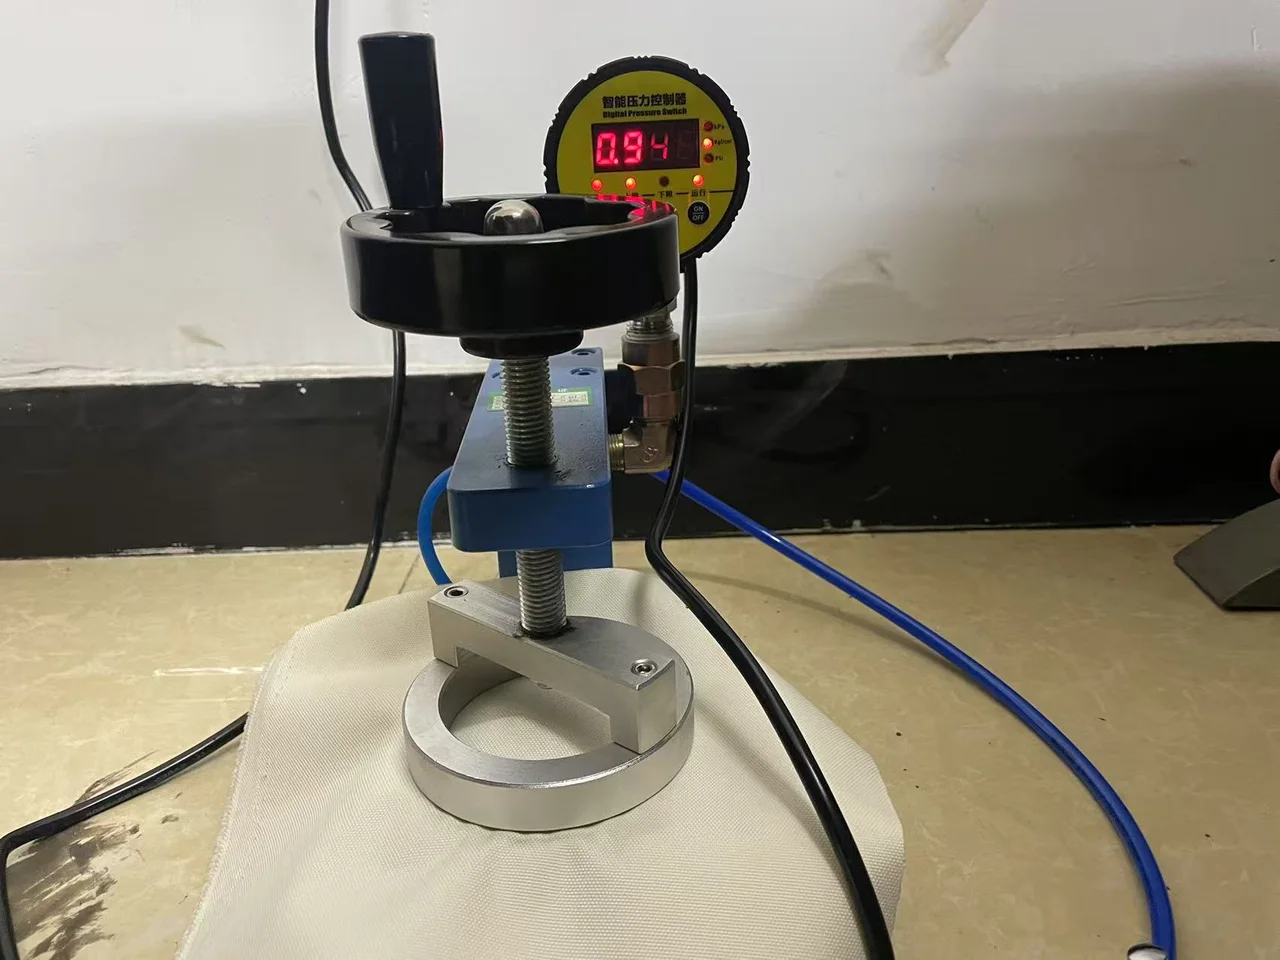
Inspection equipment and material samples support project-specific requirements. The applicable method and criteria are confirmed before production.
04 / COATED-MATERIAL JOINING
This workshop video records heat-assisted joining on coated material. High-frequency and heat-sealing equipment are selected according to the material and component defined for the product.
MANUFACTURING PATH
Each gate closes a different kind of risk before the order moves forward.
Freeze dimensions, layout, materials, openings, air-beam structure and component list.
Translate the approved geometry into tubes, junctions, valves, sleeves and service access.
Cut and sew the tent cover, openings and connection points to the final product specification.
Assemble the tent to check form, fit, access, components and requested sample changes.
Confirm the complete set, labels, instructions, bag, carton and order-specific checks.
QUALITY PLANNING
Tell us the material, model and destination, then define the checks and acceptance criteria together.
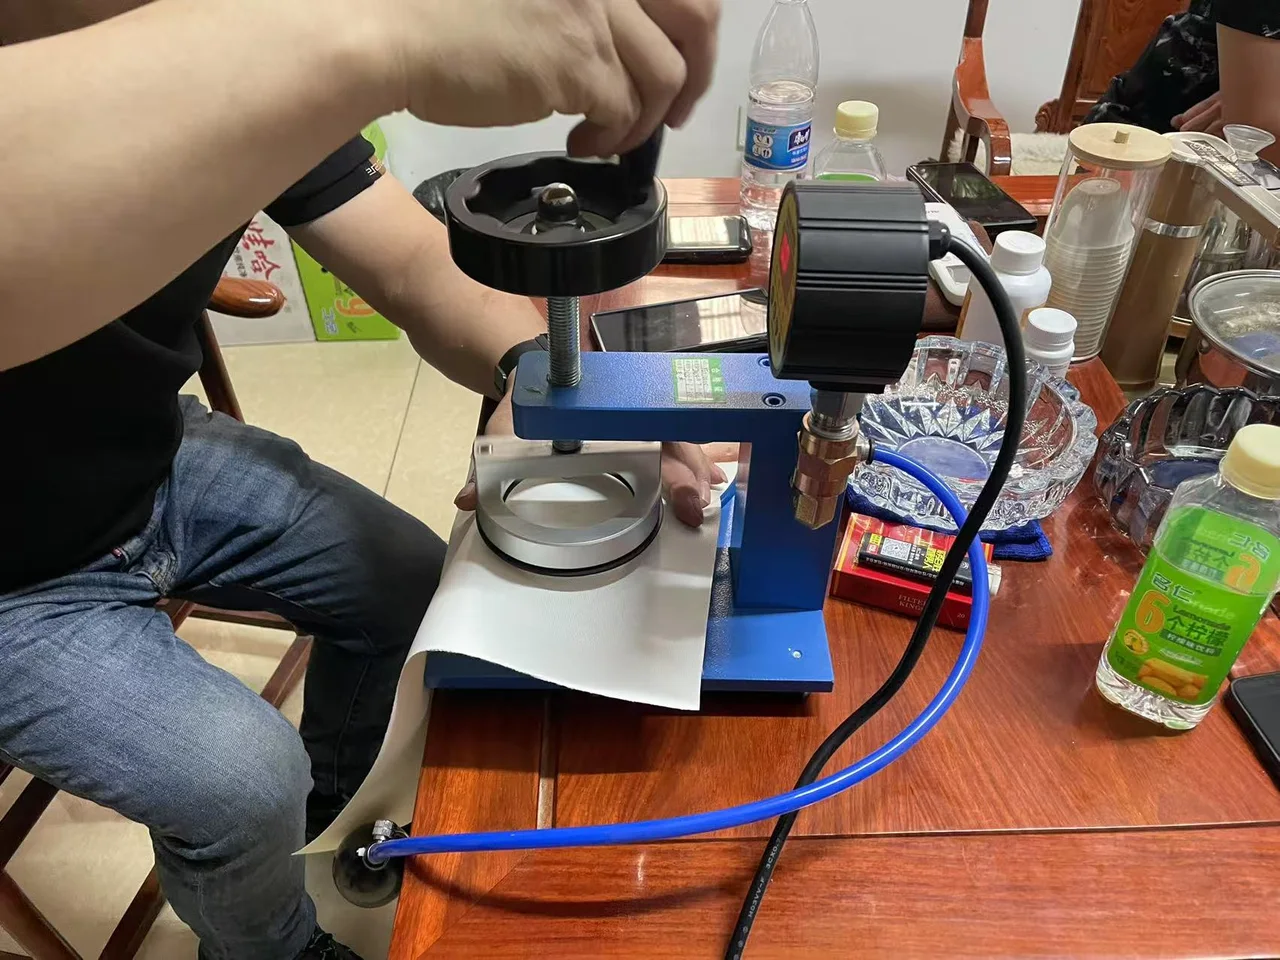
A material sample shown in inspection equipment. The applicable method and acceptance criteria are agreed per project.
Model code, approved dimensions, layout, materials, colours and air-beam definition.
Exterior form, openings, partition, component fit and buyer-requested revisions.
The applicable method, criteria and report must match the agreed material, model and destination.
Accessories, repair items, labels, instructions, bag, carton, final packed size and gross weight.
CONNECT YOUR REQUIREMENTS TO THE FACTORY
We will use them to identify the closest base model, the sample scope and the production points that need written approval.
Send Your Manufacturing BriefDeveloping an inflatable tent range under your own brand?
Plan your private-label tent rangeBEFORE YOUR INQUIRY
Review the air-beam joining, cutting and sewing, component details and physical setup shown on this page. For a selected model, agree the sample and inspection points before bulk production.
Yes. Air-beam production is handled in-house, allowing the tube layout, junctions, valves, sleeves and service access to be developed with the tent design.
Yes. The stated sample-development range is 7-15 days after the configuration, scope, cost and start date are agreed.
Bulk production timing is confirmed according to order quantity and the approved product specification.
Tell us the destination and required standard. We will identify which available reports apply to the selected material and model.